Configuring Your Snowflake Connector to DataHub
Now that you have created a DataHub-specific user with the relevant roles in Snowflake in the prior step, it's now time to set up a connection via the DataHub UI.
If you already ingest from Snowflake with username + password auth, follow the key-pair migration guide instead of recreating the source — it switches the auth mode in place without resetting your ingestion state.
Configure Secrets
- Within DataHub, navigate to the Ingestion tab in the top, right corner of your screen
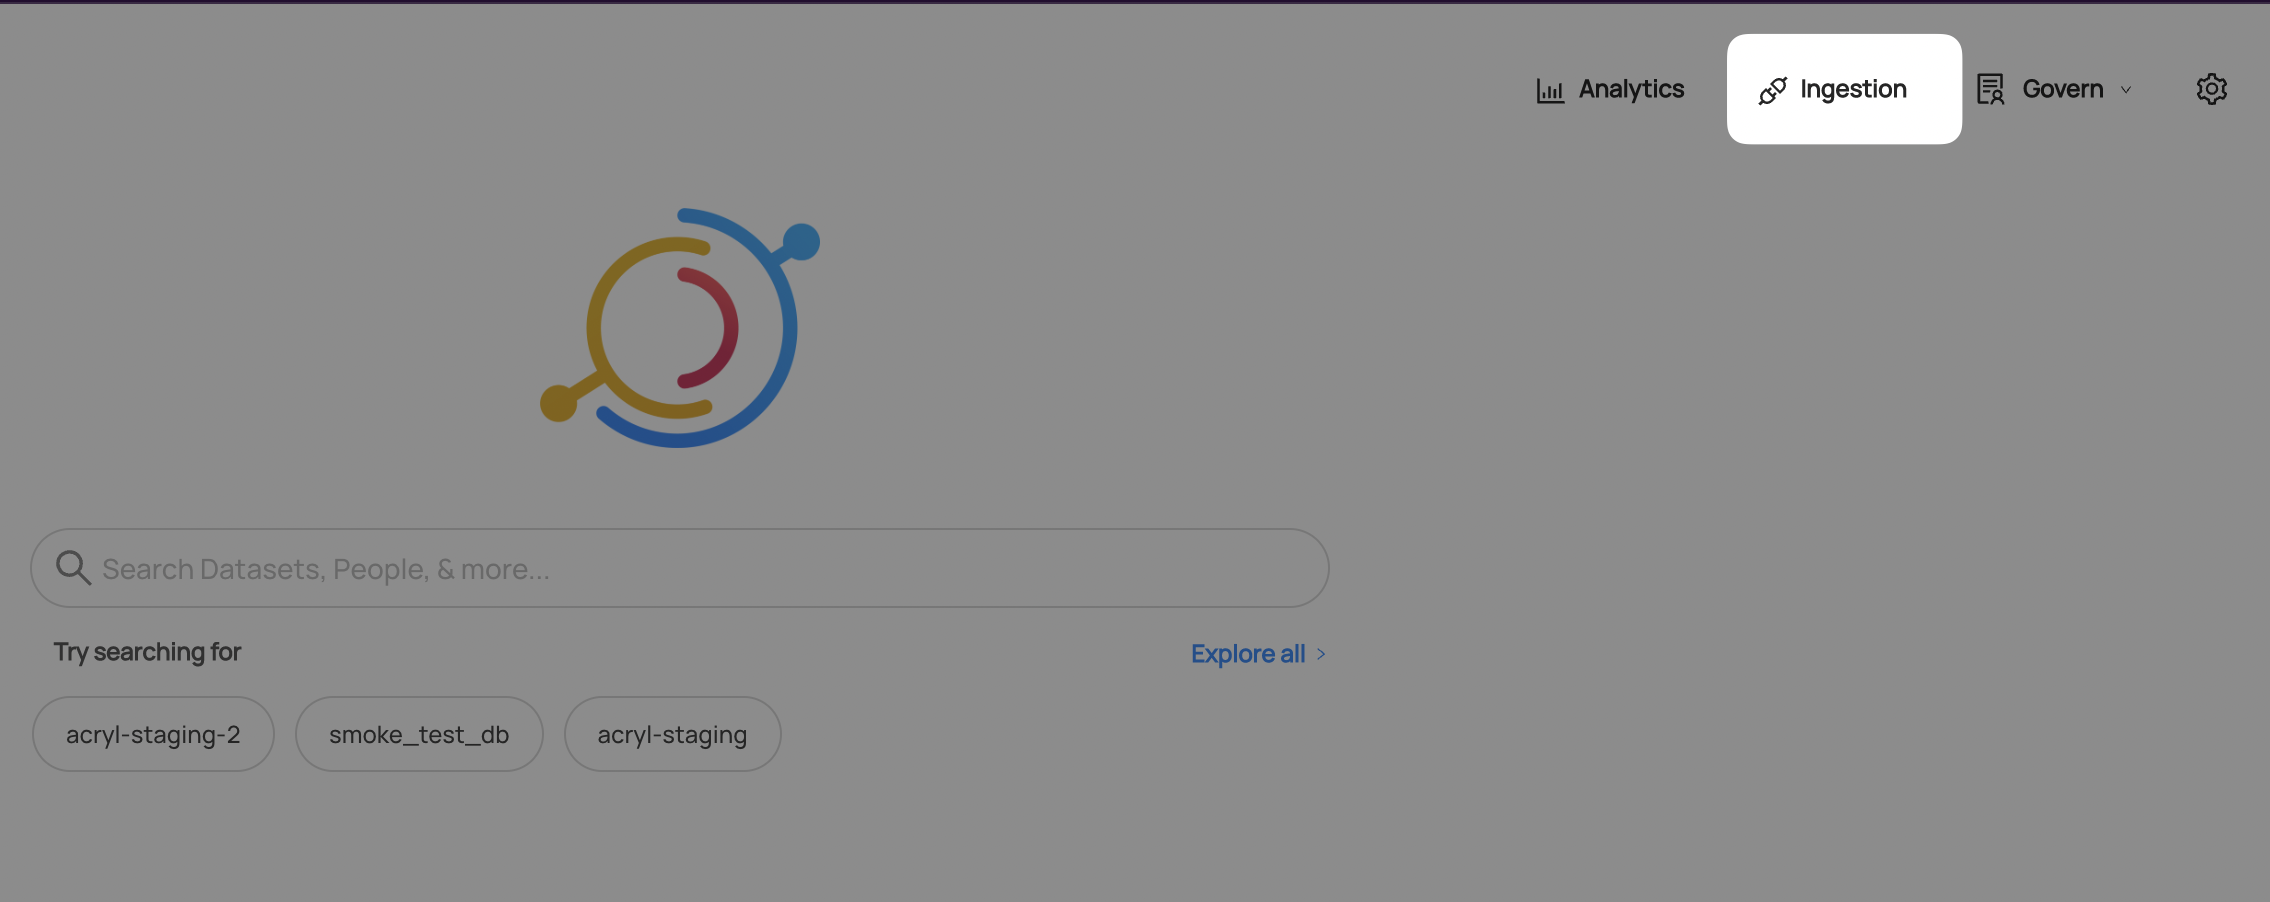
If you do not see the Ingestion tab, please contact your DataHub admin to grant you the correct permissions
- Navigate to the Secrets tab and click Create new secret
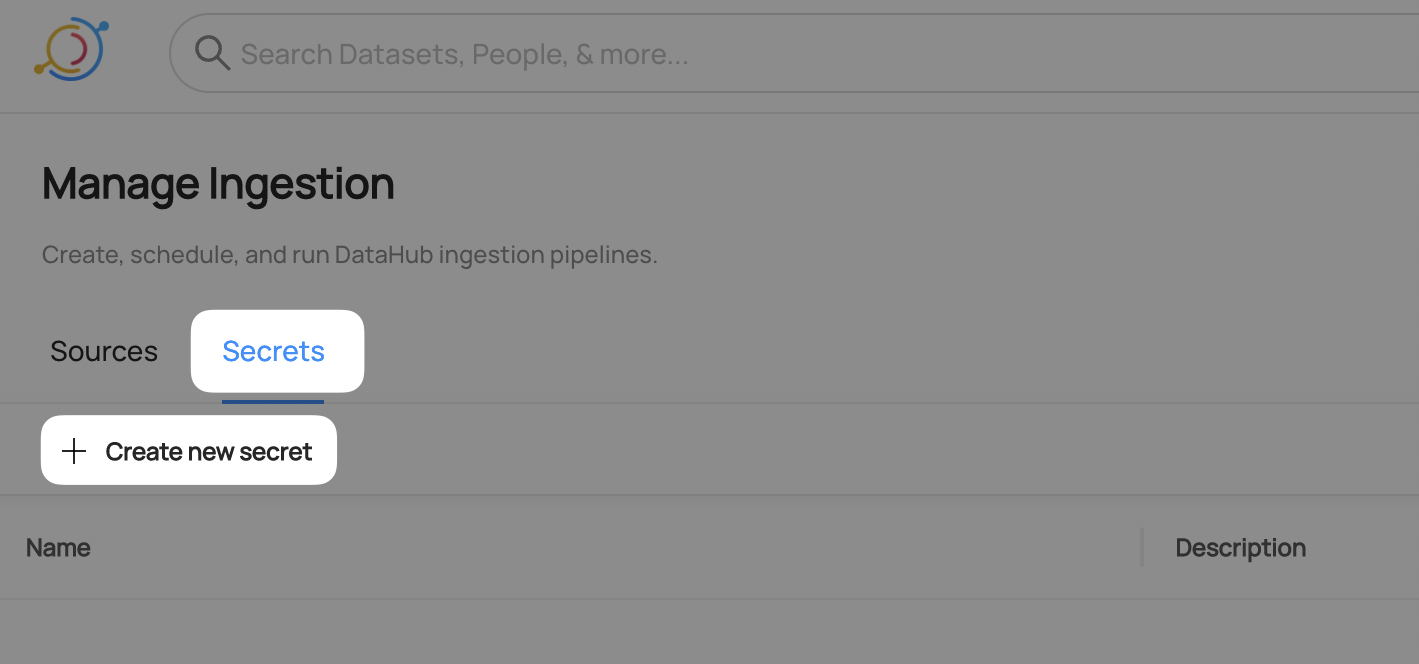
- Create a Private Key secret
This will securely store the Snowflake private key (the snowflake_key.p8 you generated in Setup) within DataHub.
- Enter a name like
SNOWFLAKE_PRIVATE_KEY- we will use this later to refer to the secret - Paste the full PEM content of the private key, including the
-----BEGIN PRIVATE KEY-----/-----END PRIVATE KEY-----markers and newlines, into the secret value - Optionally add a description
- Click Create
If your private key is encrypted, also create a SNOWFLAKE_PRIVATE_KEY_PASSWORD secret holding the passphrase. You'll reference both secrets in the recipe below.
The Create new secret form has three fields: a Name (use SNOWFLAKE_PRIVATE_KEY), a Value (paste the full PEM content of snowflake_key.p8, including the -----BEGIN PRIVATE KEY----- / -----END PRIVATE KEY----- markers and newlines), and an optional Description. Click Create to save it.
Configure Recipe
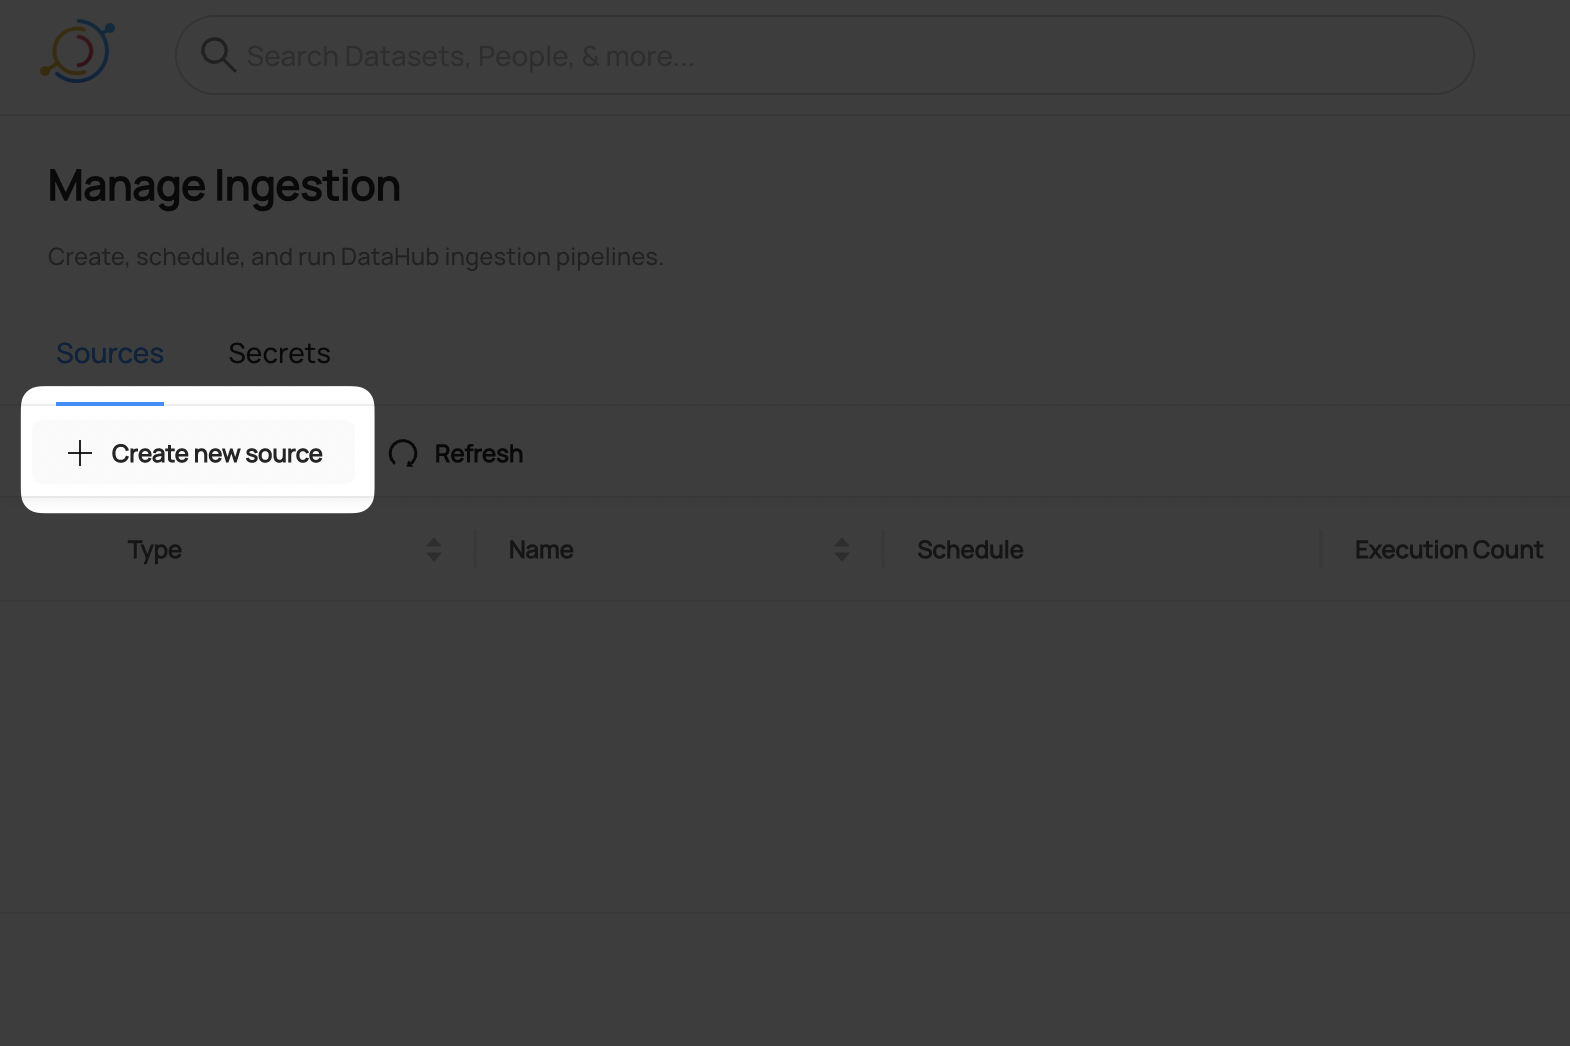
- Navigate to the Sources tab and click Create new source
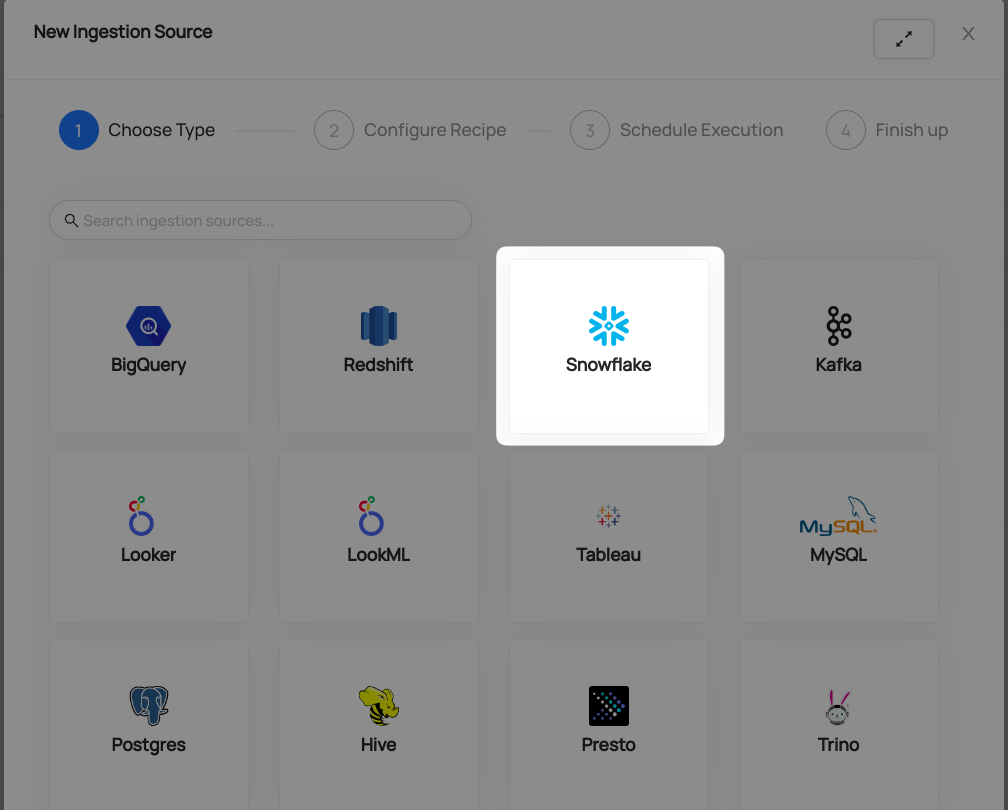
- Select Snowflake
- Fill out the Snowflake Recipe
Enter the Snowflake Account Identifier as Account ID field. Account identifier is the part before .snowflakecomputing.com in your snowflake host URL:
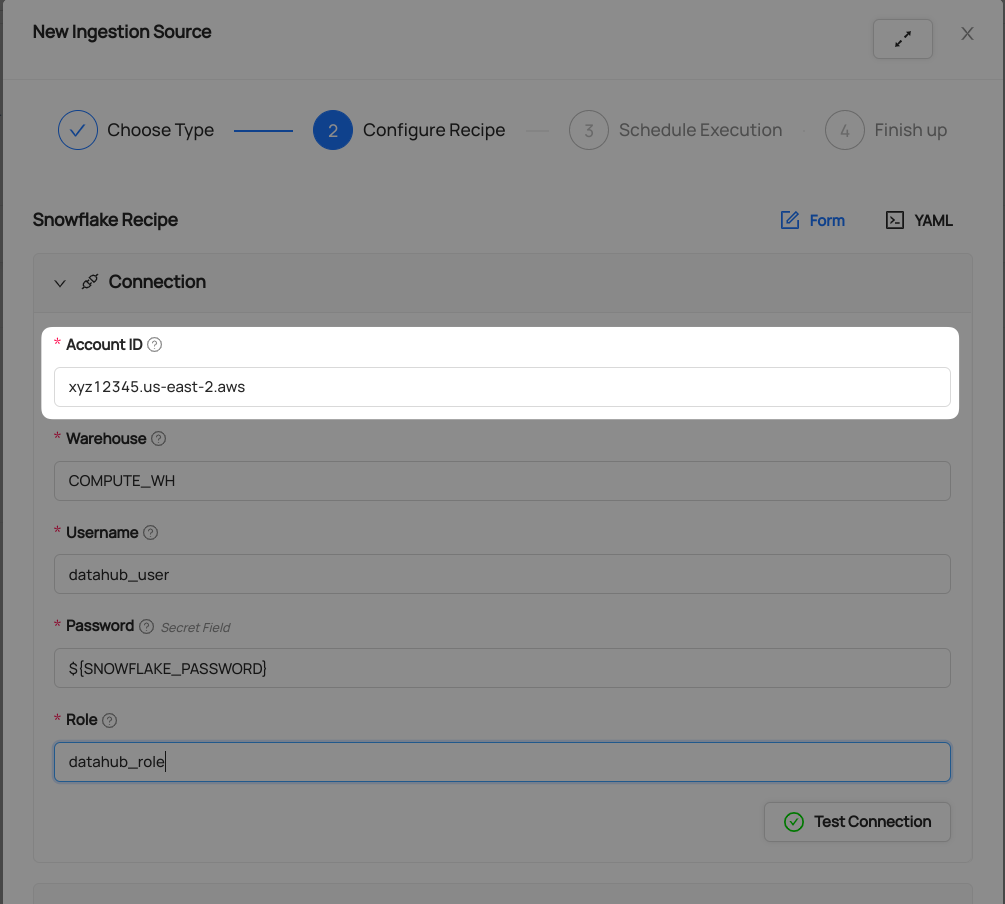
Learn more about Snowflake Account Identifiers here
Set the authentication mode to key-pair and reference the secret you just created:
- Set Authentication Type to Private Key (
KEY_PAIR_AUTHENTICATOR) - In the Private Key field, select the
SNOWFLAKE_PRIVATE_KEYsecret - If your private key is passphrase-protected, select the
SNOWFLAKE_PRIVATE_KEY_PASSWORDsecret in the Private Key Password field
Selecting Private Key reveals the Private Key and Private Key Password fields and hides the Password field. The resulting recipe keys are:
source:
  type: snowflake
  config:
    account_id: "abc48144"
    username: "${SNOWFLAKE_USER}"
    authentication_type: KEY_PAIR_AUTHENTICATOR
    private_key: "${SNOWFLAKE_PRIVATE_KEY}"
    # Required only if the private key is passphrase-protected:
    # private_key_password: "${SNOWFLAKE_PRIVATE_KEY_PASSWORD}"
    role: "datahub_role"
    warehouse: "COMPUTE_WH"
The form fields map to the authentication_type, private_key, and private_key_password recipe keys. See the key-pair migration guide for the exact YAML.
Populate the relevant fields using the same Username, Role, and Warehouse you created and/or specified in Snowflake Prerequisites.
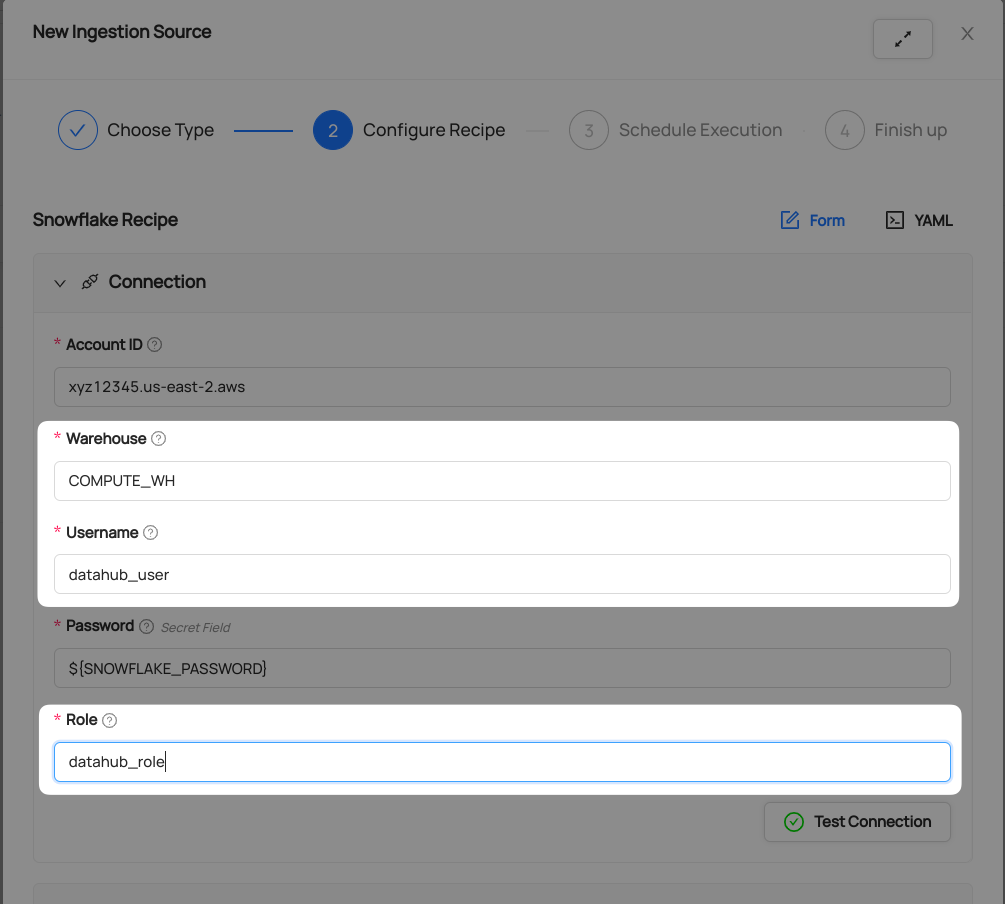
- Click Test Connection
This step will ensure you have configured your credentials accurately and confirm you have the required permissions to extract all relevant metadata.
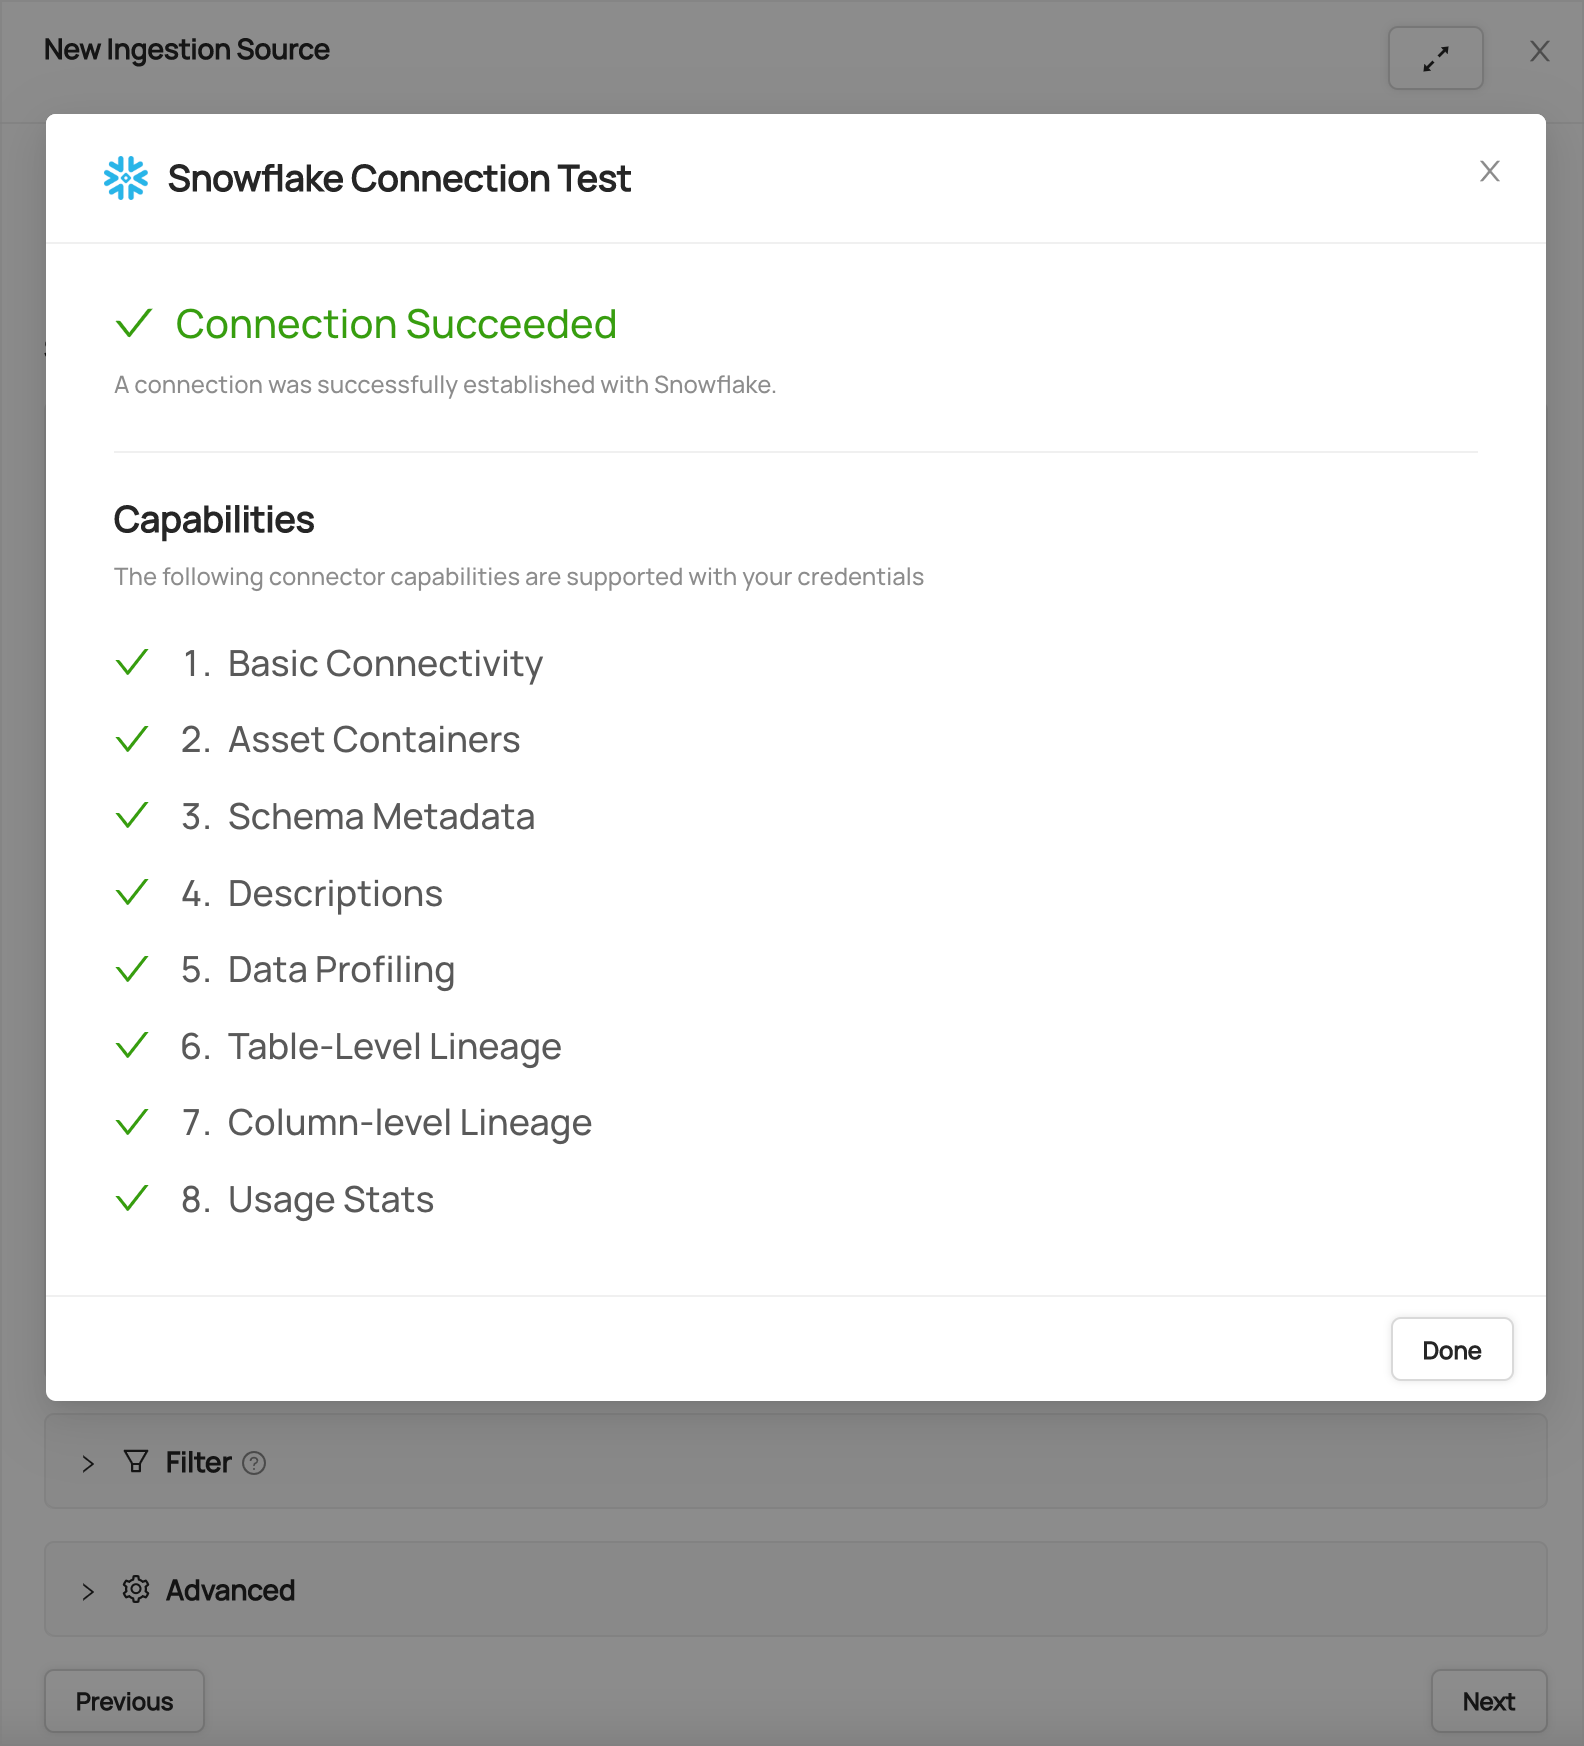
After you have successfully tested your connection, click Next.
Schedule Execution
Now it's time to schedule a recurring ingestion pipeline to regularly extract metadata from your Snowflake instance.
- Decide how regularly you want this ingestion to run-- day, month, year, hour, minute, etc. Select from the dropdown
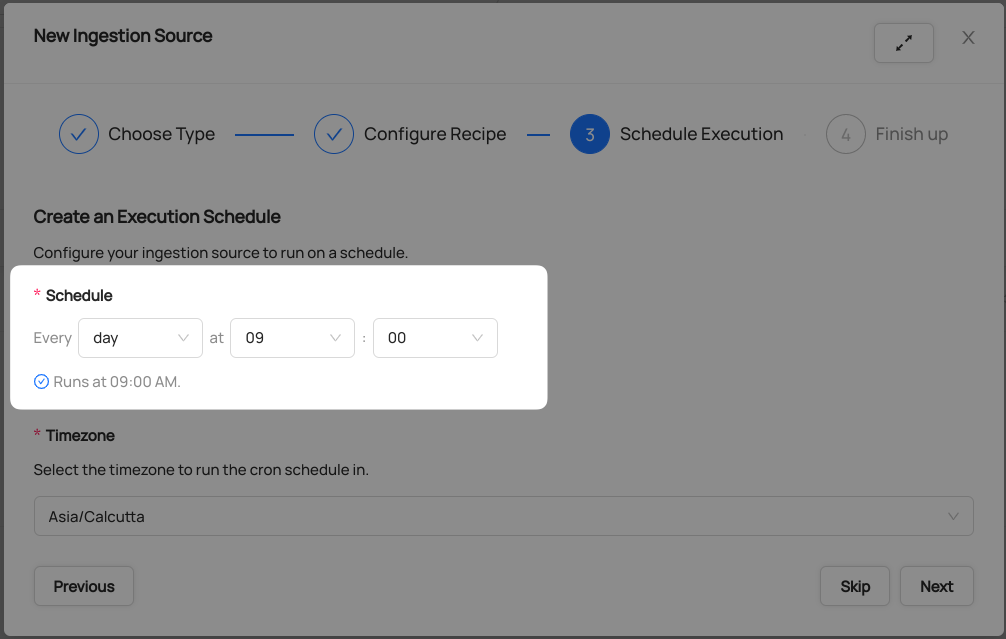
Ensure you've configured your correct timezone
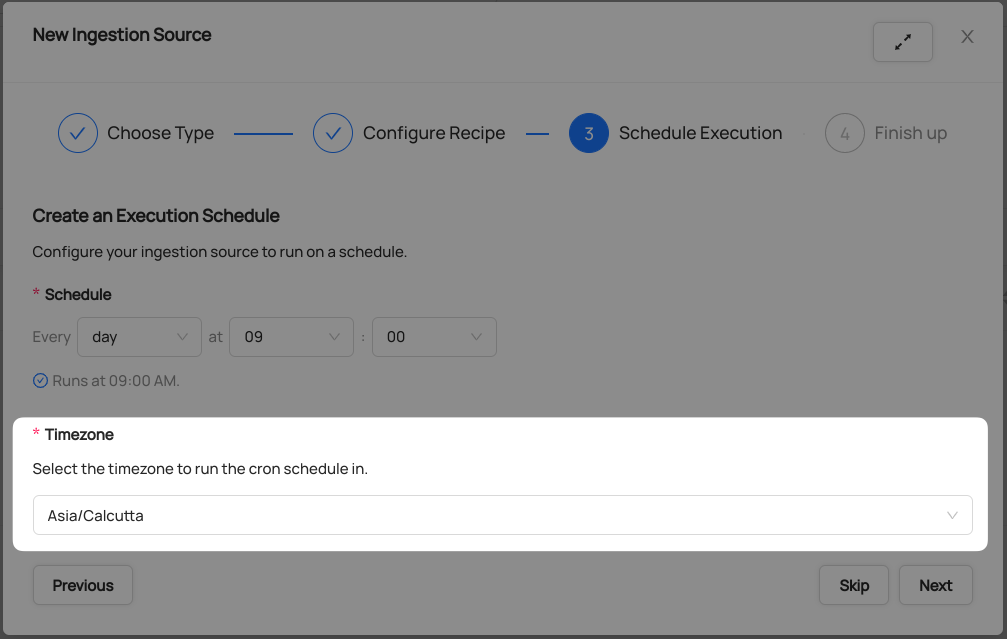
Click Next when you are done
Finish Up
- Name your ingestion source, then click Save and Run
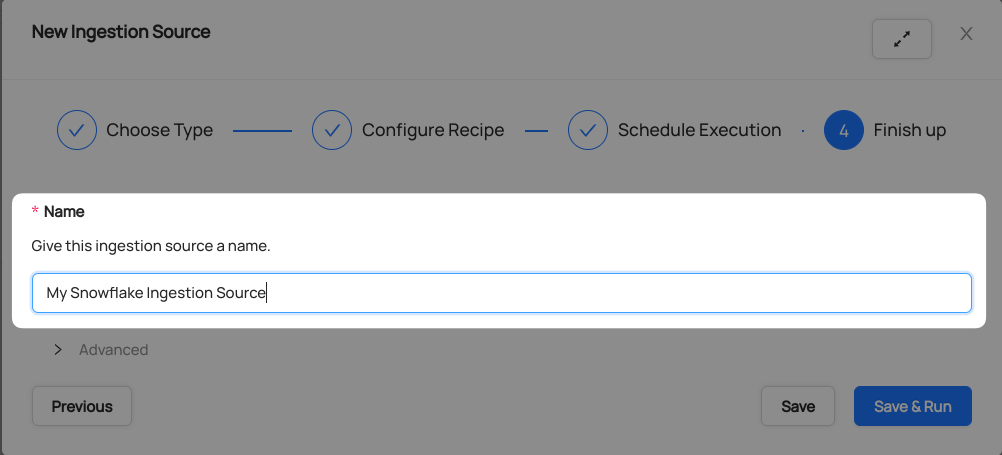
You will now find your new ingestion source running
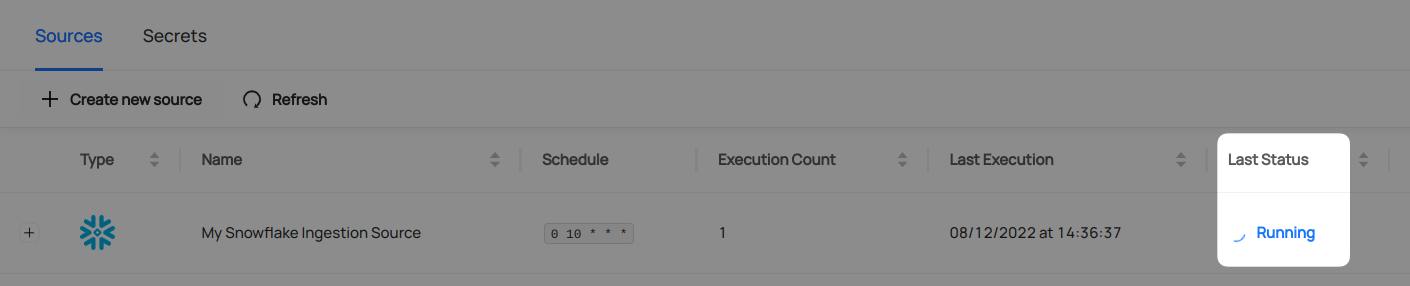
Validate Ingestion Runs
- View the latest status of ingestion runs on the Ingestion page
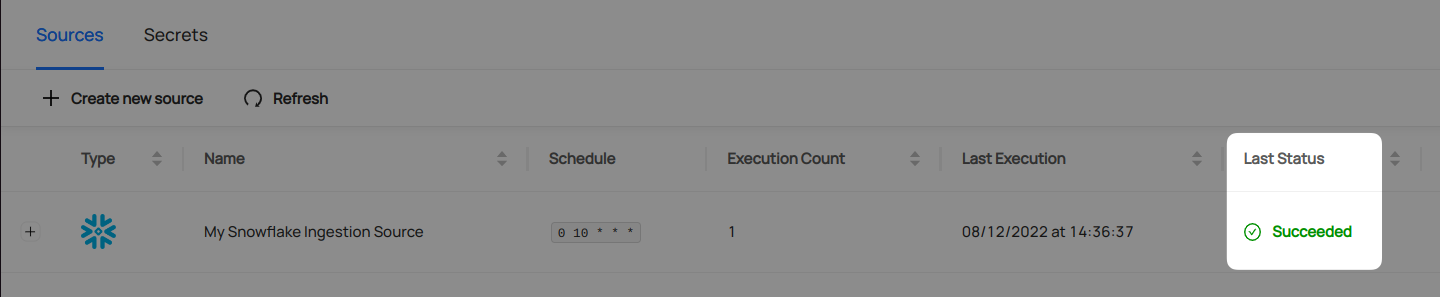
- Click the plus sign to expand the full list of historical runs and outcomes; click Details to see the outcomes of a specific run
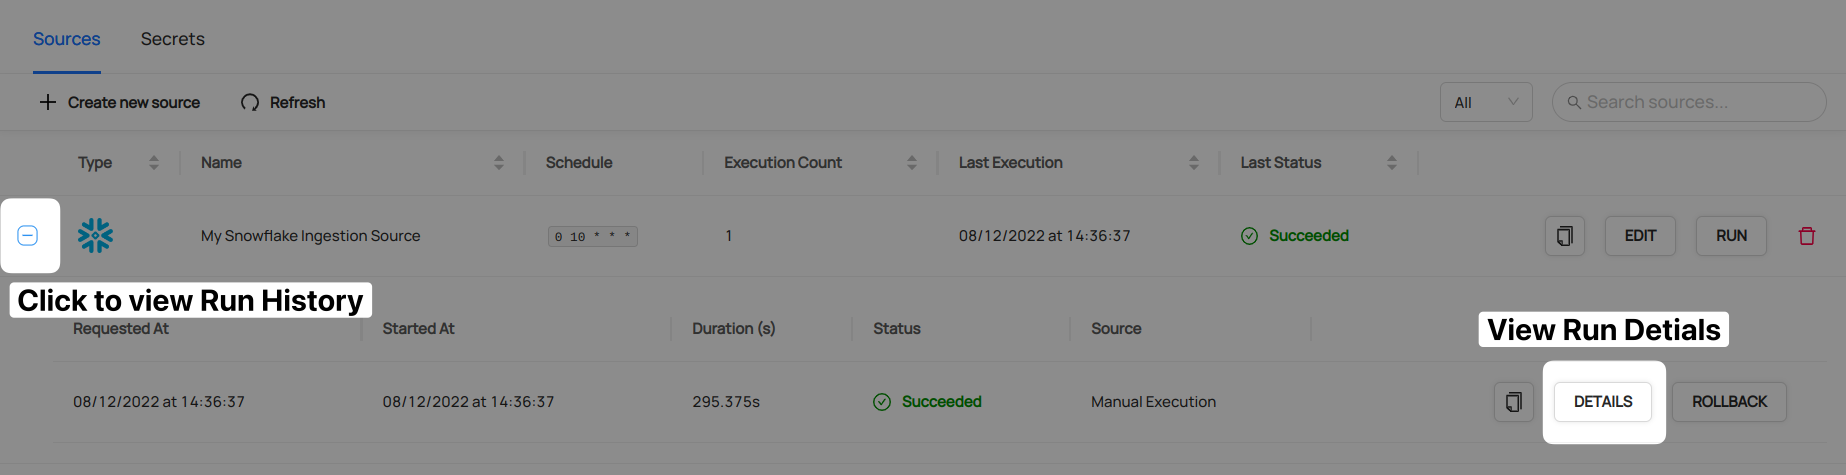
- From the Ingestion Run Details page, pick View All to see which entities were ingested
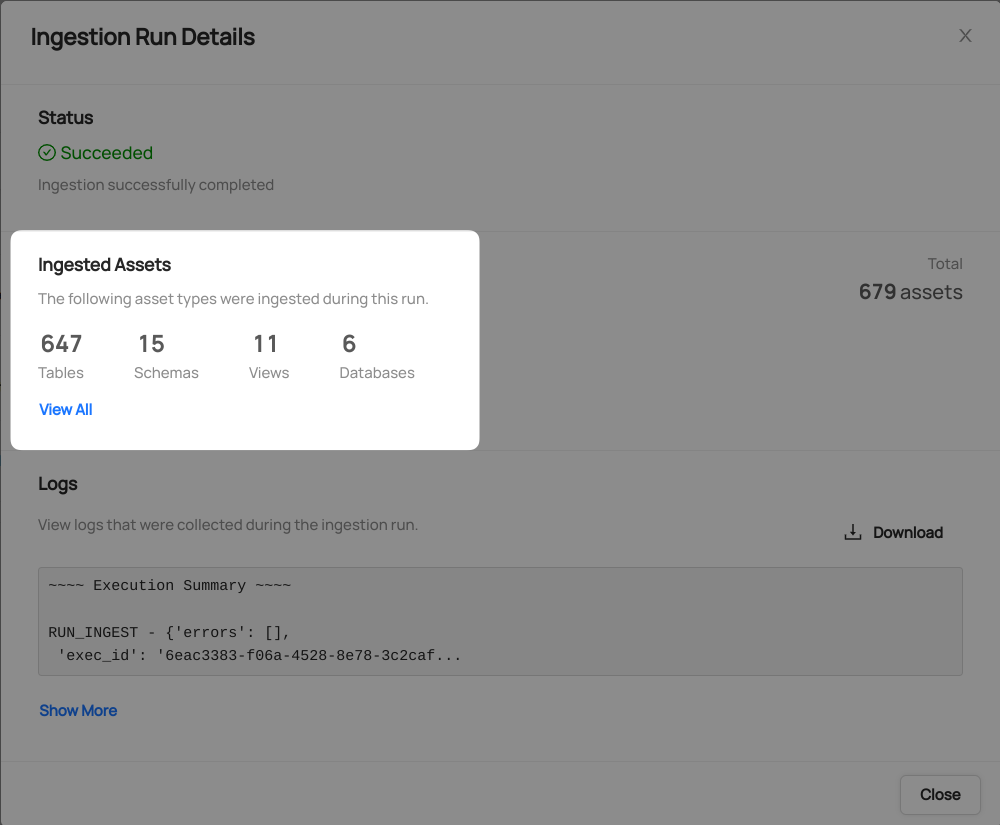
- Pick an entity from the list to manually validate if it contains the detail you expected
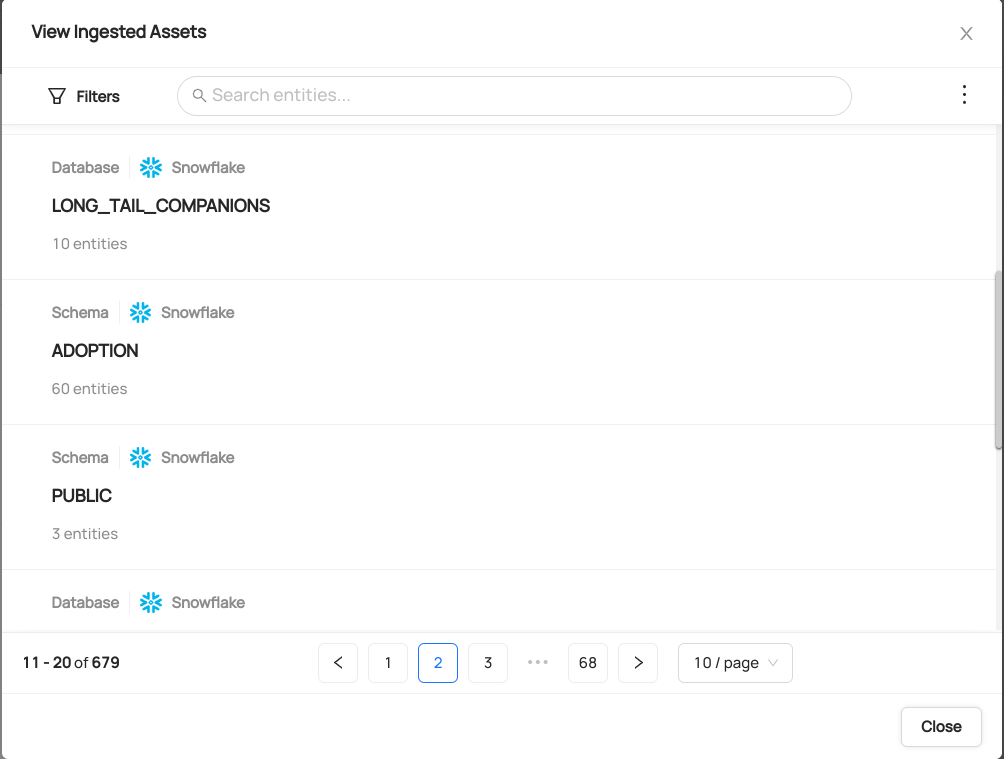
Congratulations! You've successfully set up Snowflake as an ingestion source for DataHub!
Advanced Configuration
Snowflake Internal Marketplace (Optional)
If you want to ingest Snowflake internal marketplace listings (private data sharing via Data Exchange) as Data Products, you'll need to enable additional configuration.
For Consumer Organizations (Purchasing Listings)
If you purchase/install internal marketplace listings, add these options to your recipe:
marketplace:
  enabled: true
  marketplace_mode: "consumer" # This is the default
  # Optional: Configure time window for usage statistics
  start_time: "-7 days" # Default: -1 day
  end_time: "now"

# Required: Map your imported databases to their source shares
shares:
  DEMO_DATABASE_SNOWFLAKE_SHARE_1754064671731: # From: SHOW SHARES
    database: "SOURCE_DATABASE" # Source database in the share
    consumers:
      - database: "DEMO_DATABASE" # Your purchased/imported database
        # Optional but recommended: Explicit listing mapping for precise linking
        listing_global_name: "PROVIDER.REGION.LISTING_NAME" # From: SHOW AVAILABLE LISTINGS
Tip: Adding listing_global_name ensures your purchased databases are accurately linked to their marketplace listings, especially when you have multiple similar listing names.
For Provider Organizations (Publishing Listings)
If you publish/share data through the internal marketplace, add these options to your recipe:
marketplace:
  enabled: true
  marketplace_mode: "provider"
  # Optional: Assign owners to your Data Products
  internal_marketplace_owner_patterns:
    "^Customer.*": ["data-team"]
  # Optional: Configure time window for usage statistics
  start_time: "-30 days"
  end_time: "now"

# Include your source databases being shared
database_pattern:
  allow:
    - "YOUR_SOURCE_DATABASE"
Important: For provider mode to work, you must have granted imported privileges on database snowflake to both the role AND the user (see Setup for details). Share access in Snowflake is granted at the user level, not the role level.
For Organizations Doing Both
Use marketplace_mode: "both" to track both purchased and published listings in the same ingestion.
For complete documentation on marketplace configuration, see the Snowflake connector documentation.