Microsoft Copilot Studio
Build Copilot Studio agents that can find trustworthy data, trace lineage, look up ownership, and answer data questions grounded in your enterprise context from DataHub.
Prerequisites
- A Microsoft Copilot Studio account
- A DataHub Cloud instance (v0.3.12+) or self-hosted DataHub with the MCP server running
- A DataHub personal access token
Setup
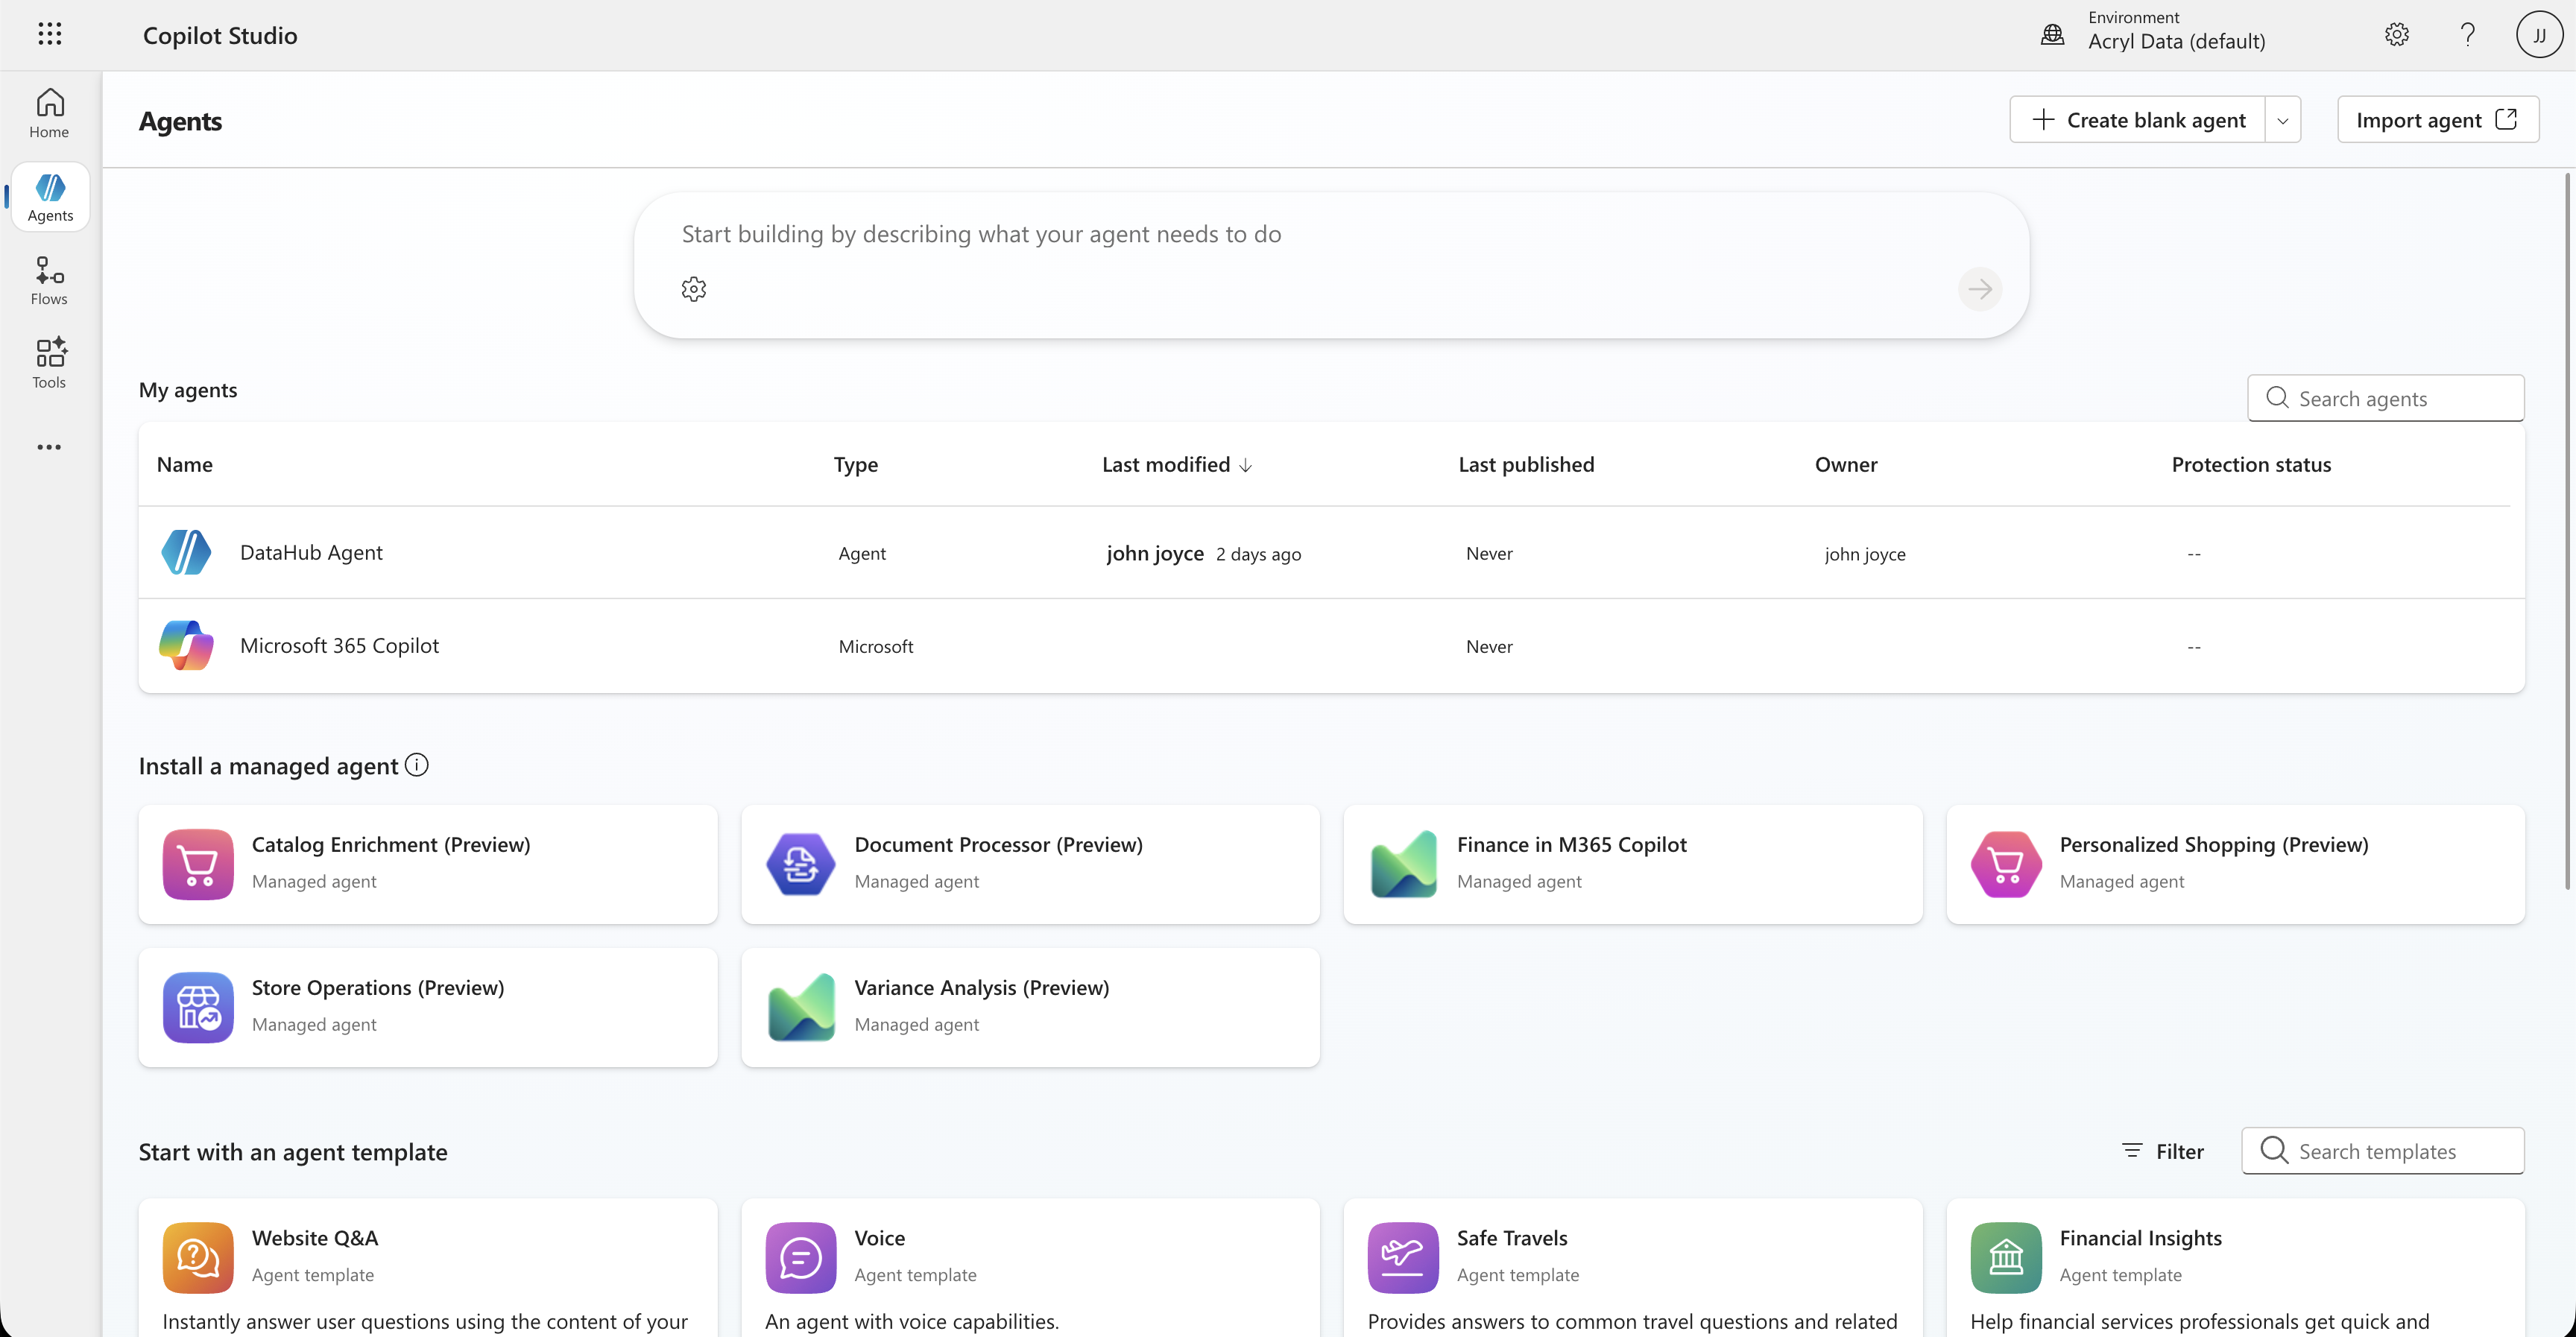
1. Create or Open an Agent
In Copilot Studio, click + Create a blank agent or open an existing one.
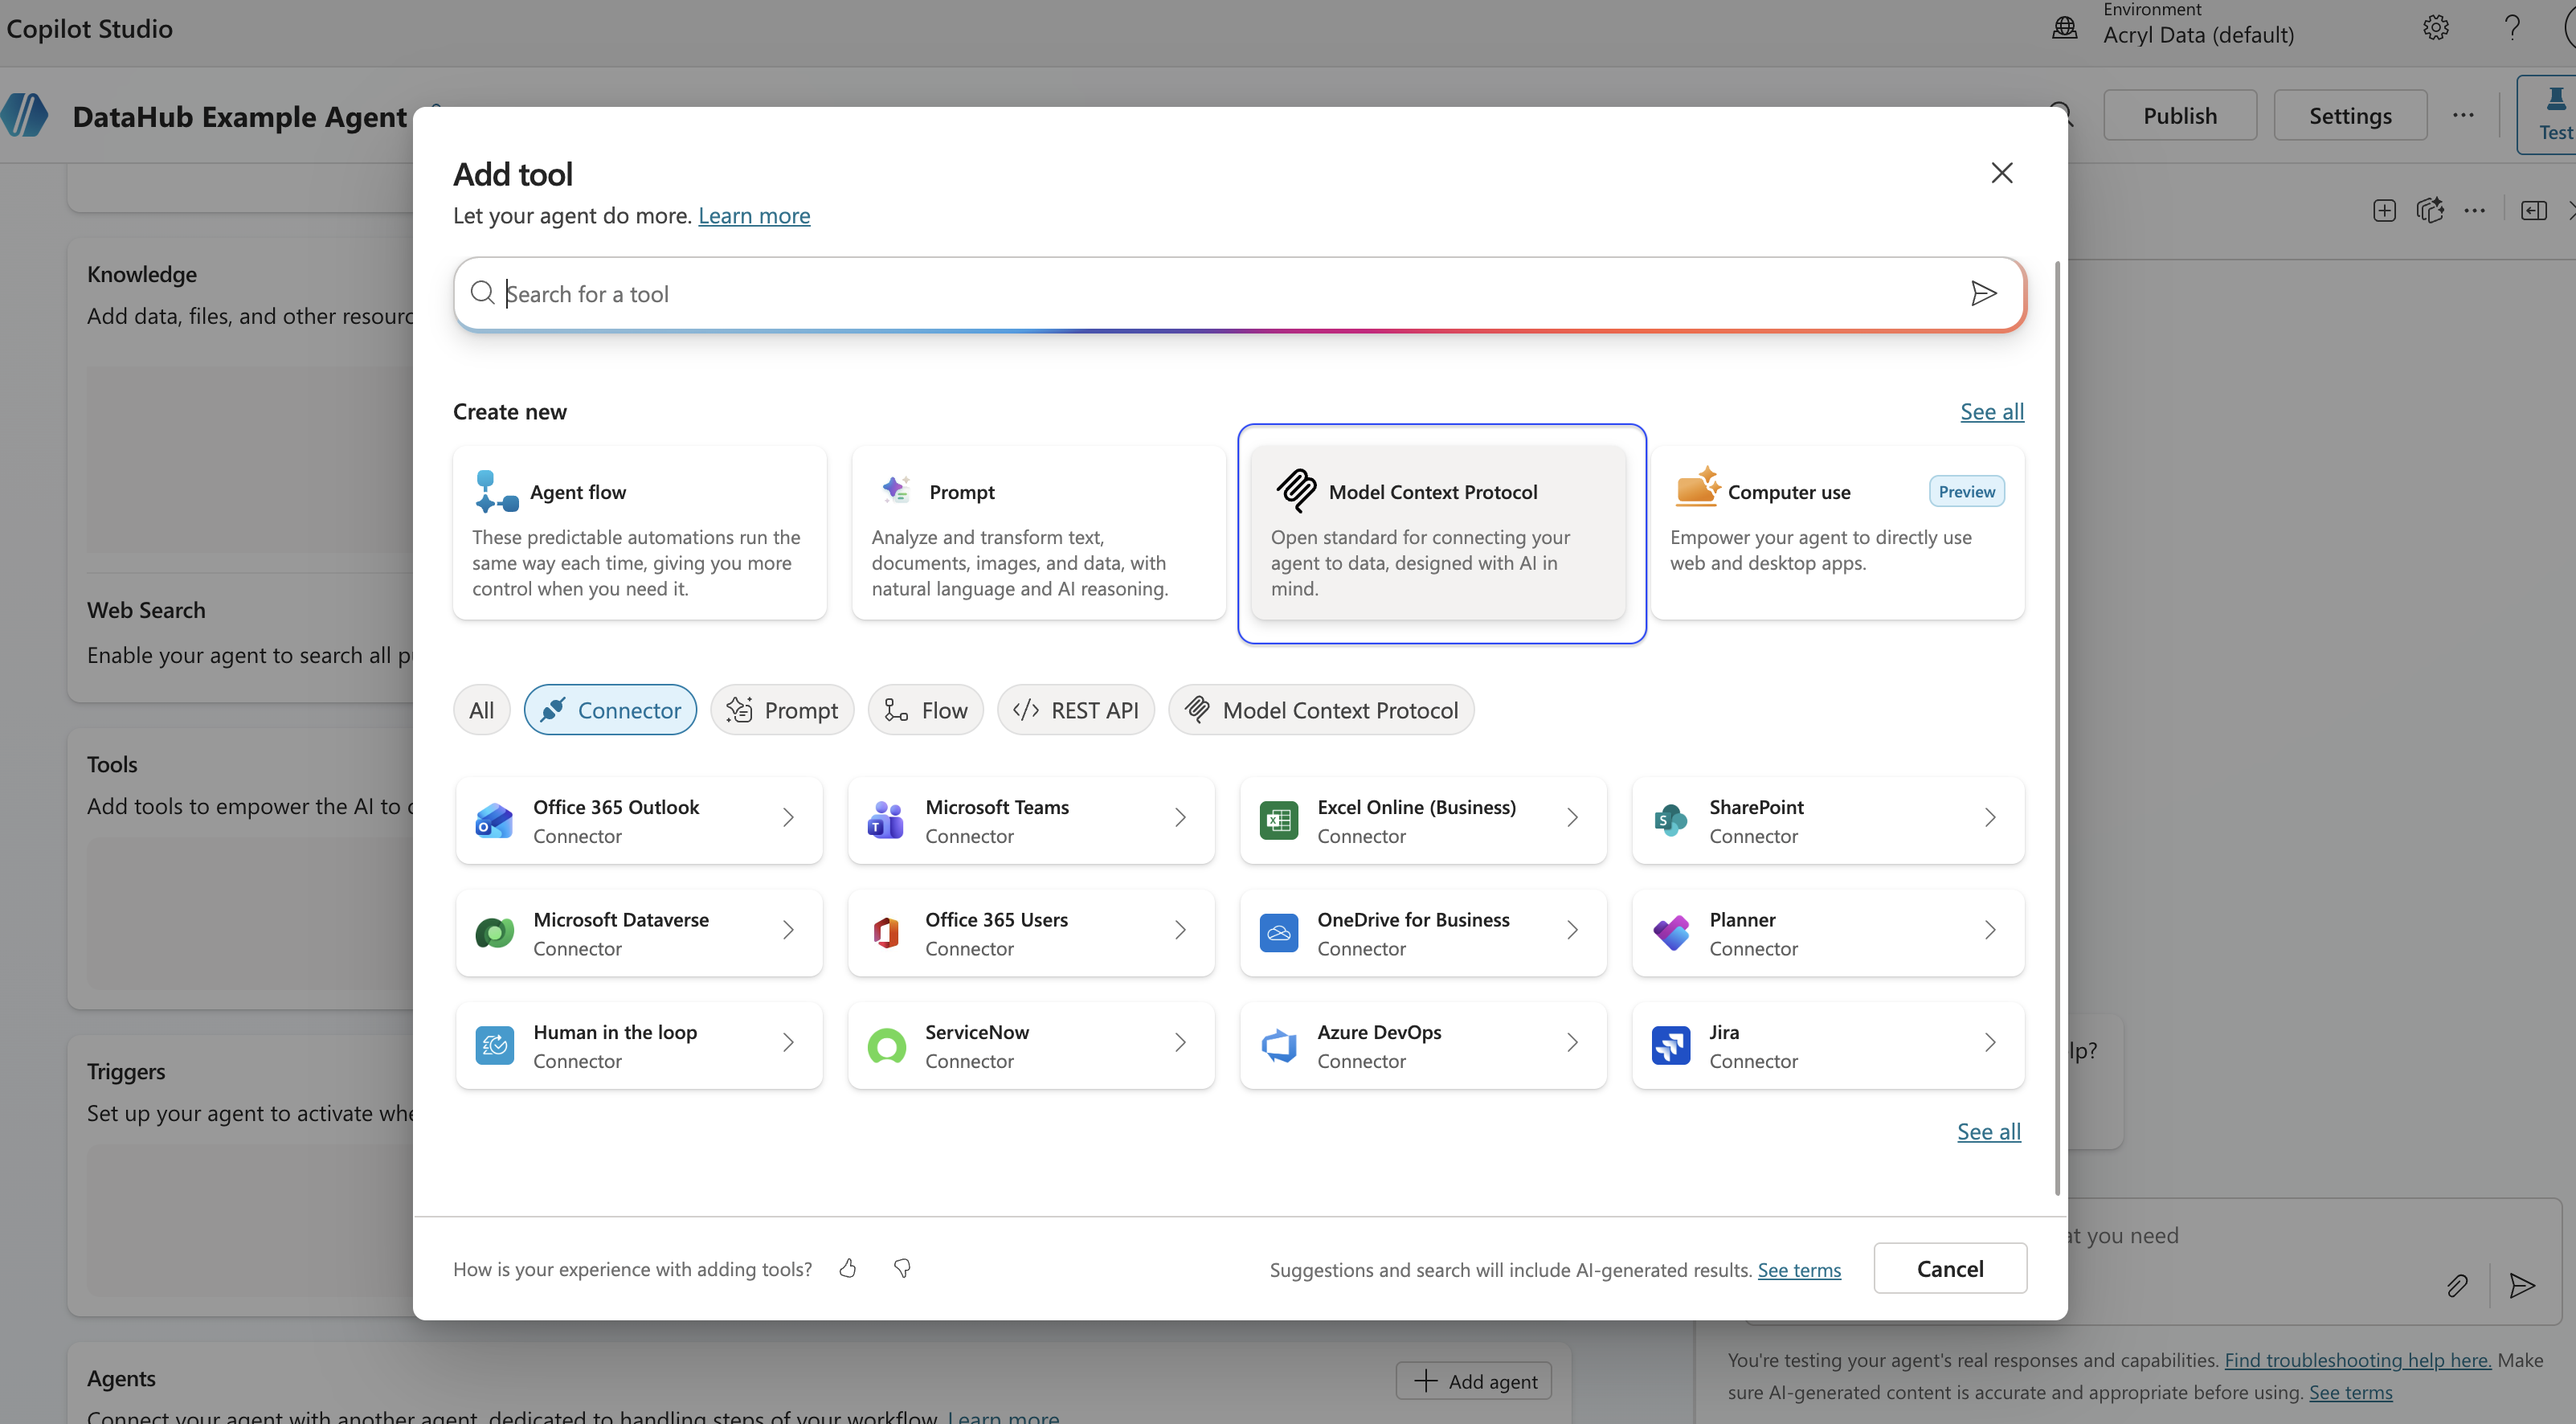
2. Add an MCP Tool
From your agent's overview, scroll to Tools and click + Add tool. Select Model Context Protocol under "Create new".
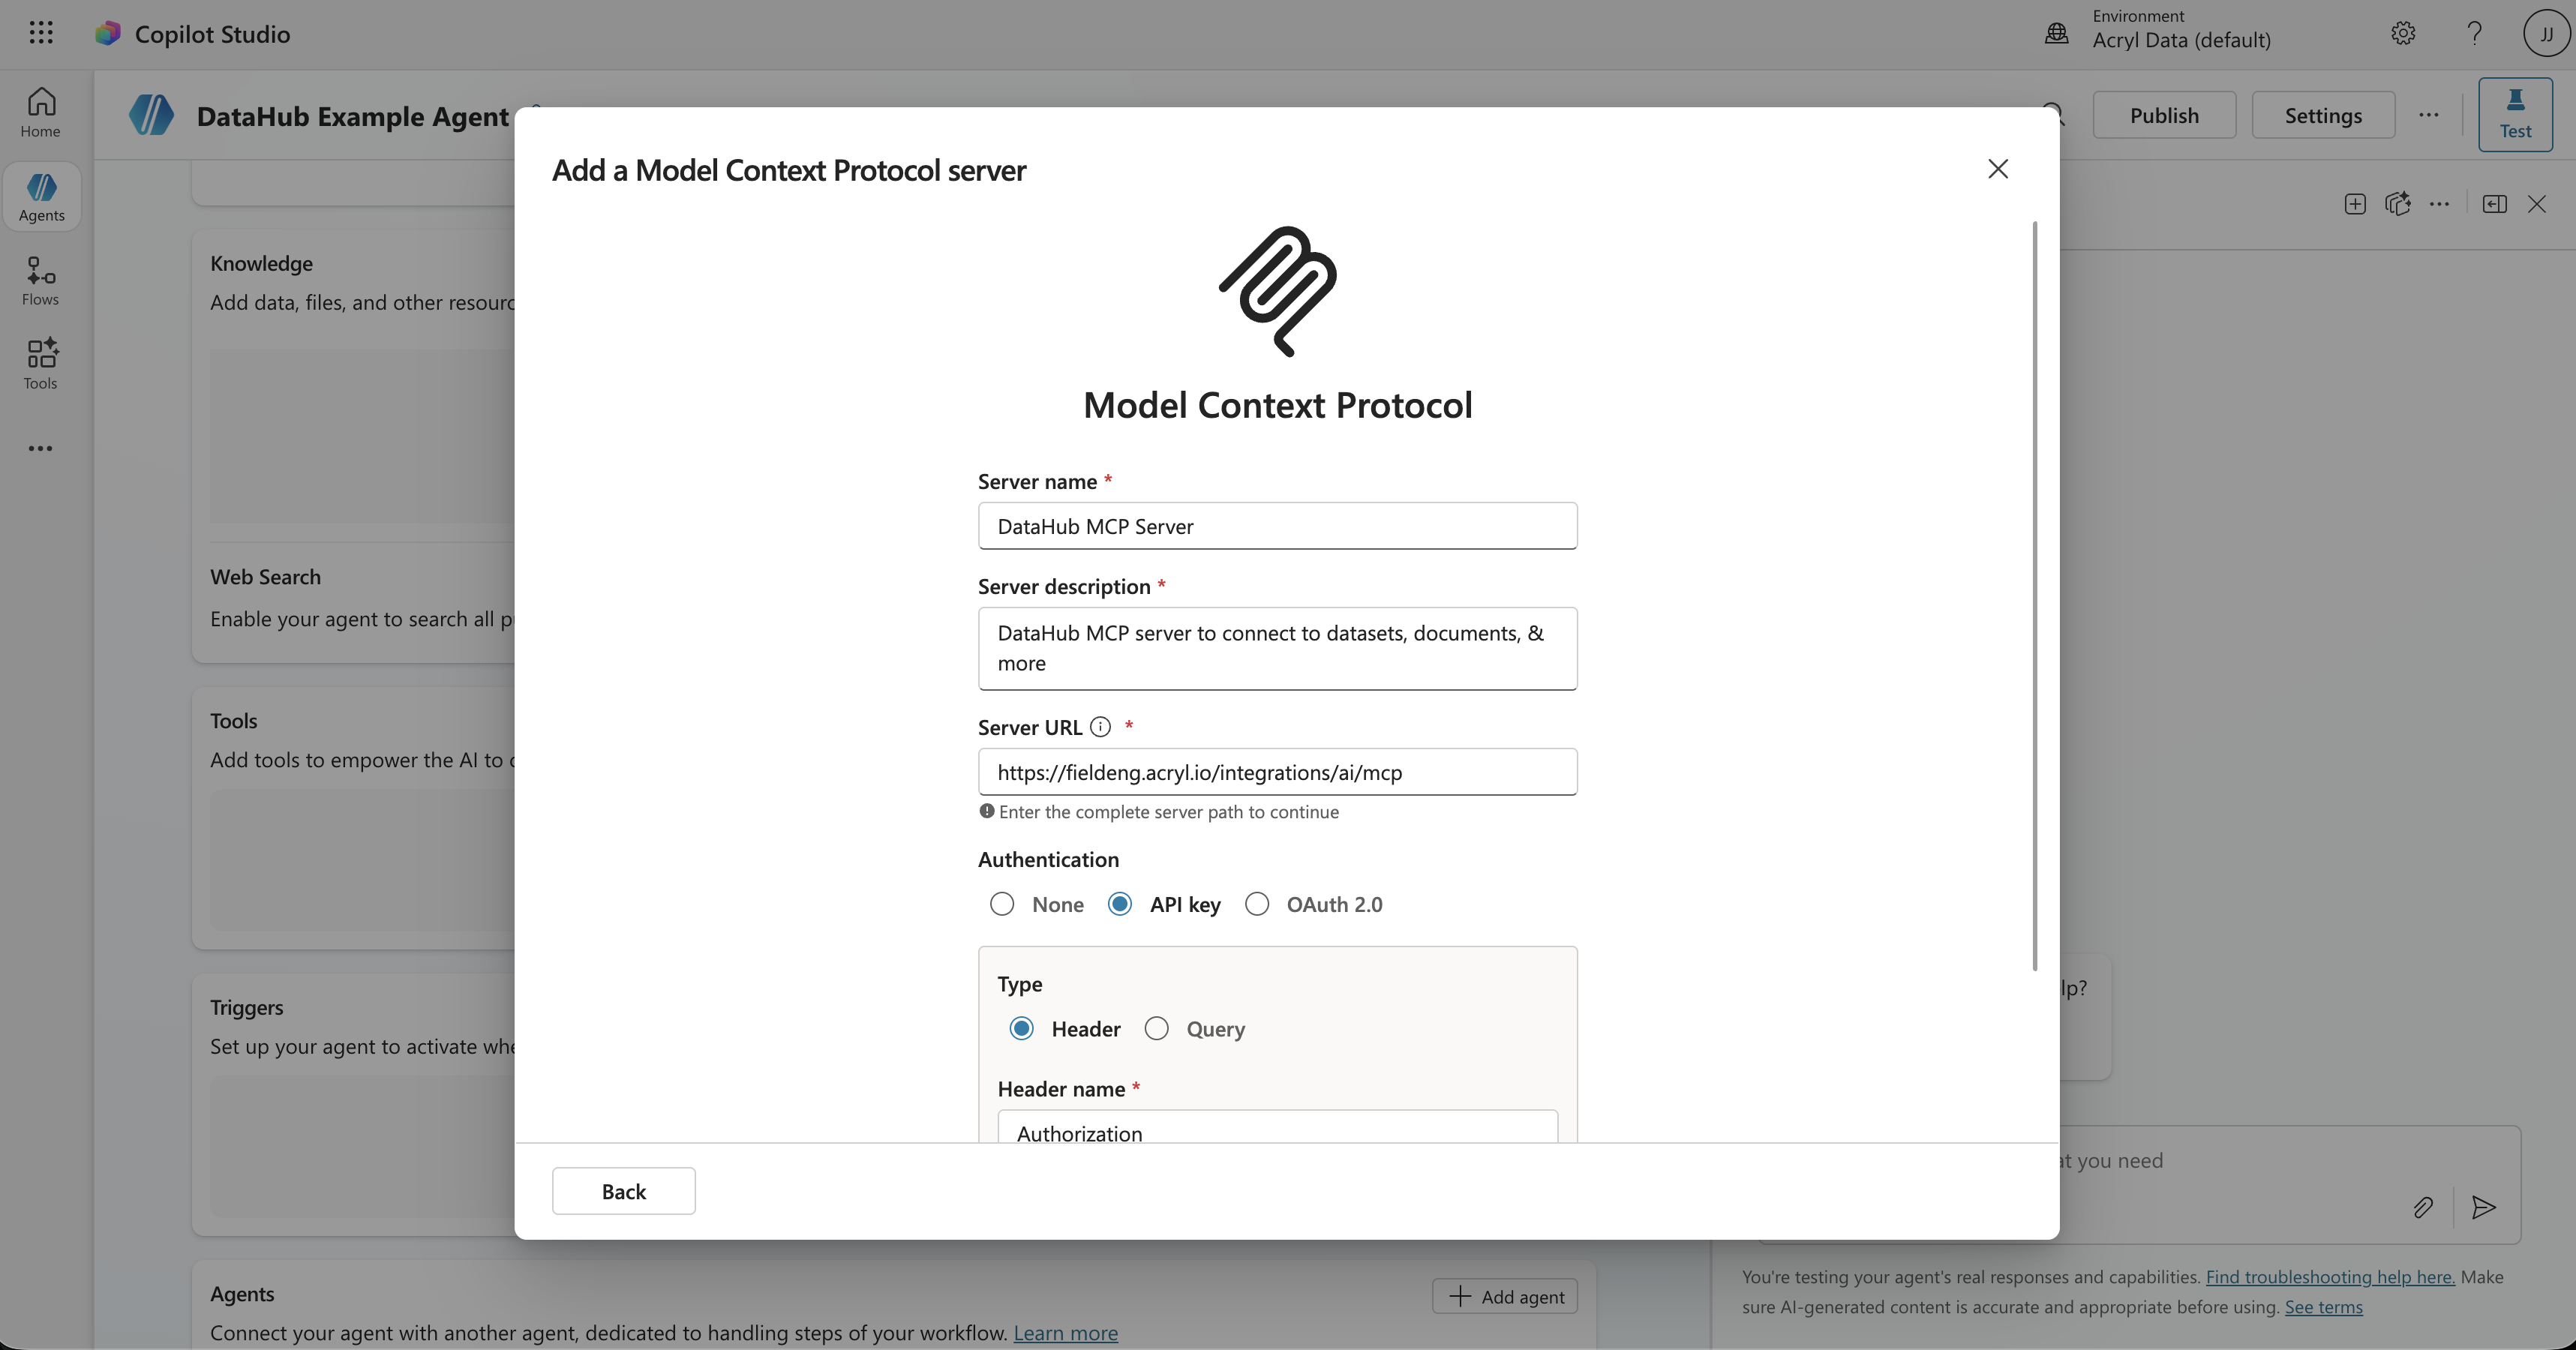
3. Configure the MCP Connection
| Field | Value |
|---|---|
| Server name | DataHub MCP Server |
| Server URL | https://<tenant>.acryl.io/integrations/ai/mcp |
| Authentication | API key · Header · Authorization · Bearer <token> |
Self-Hosted DataHub
For self-hosted instances, expose the MCP server via a publicly accessible URL and use that as the Server URL.
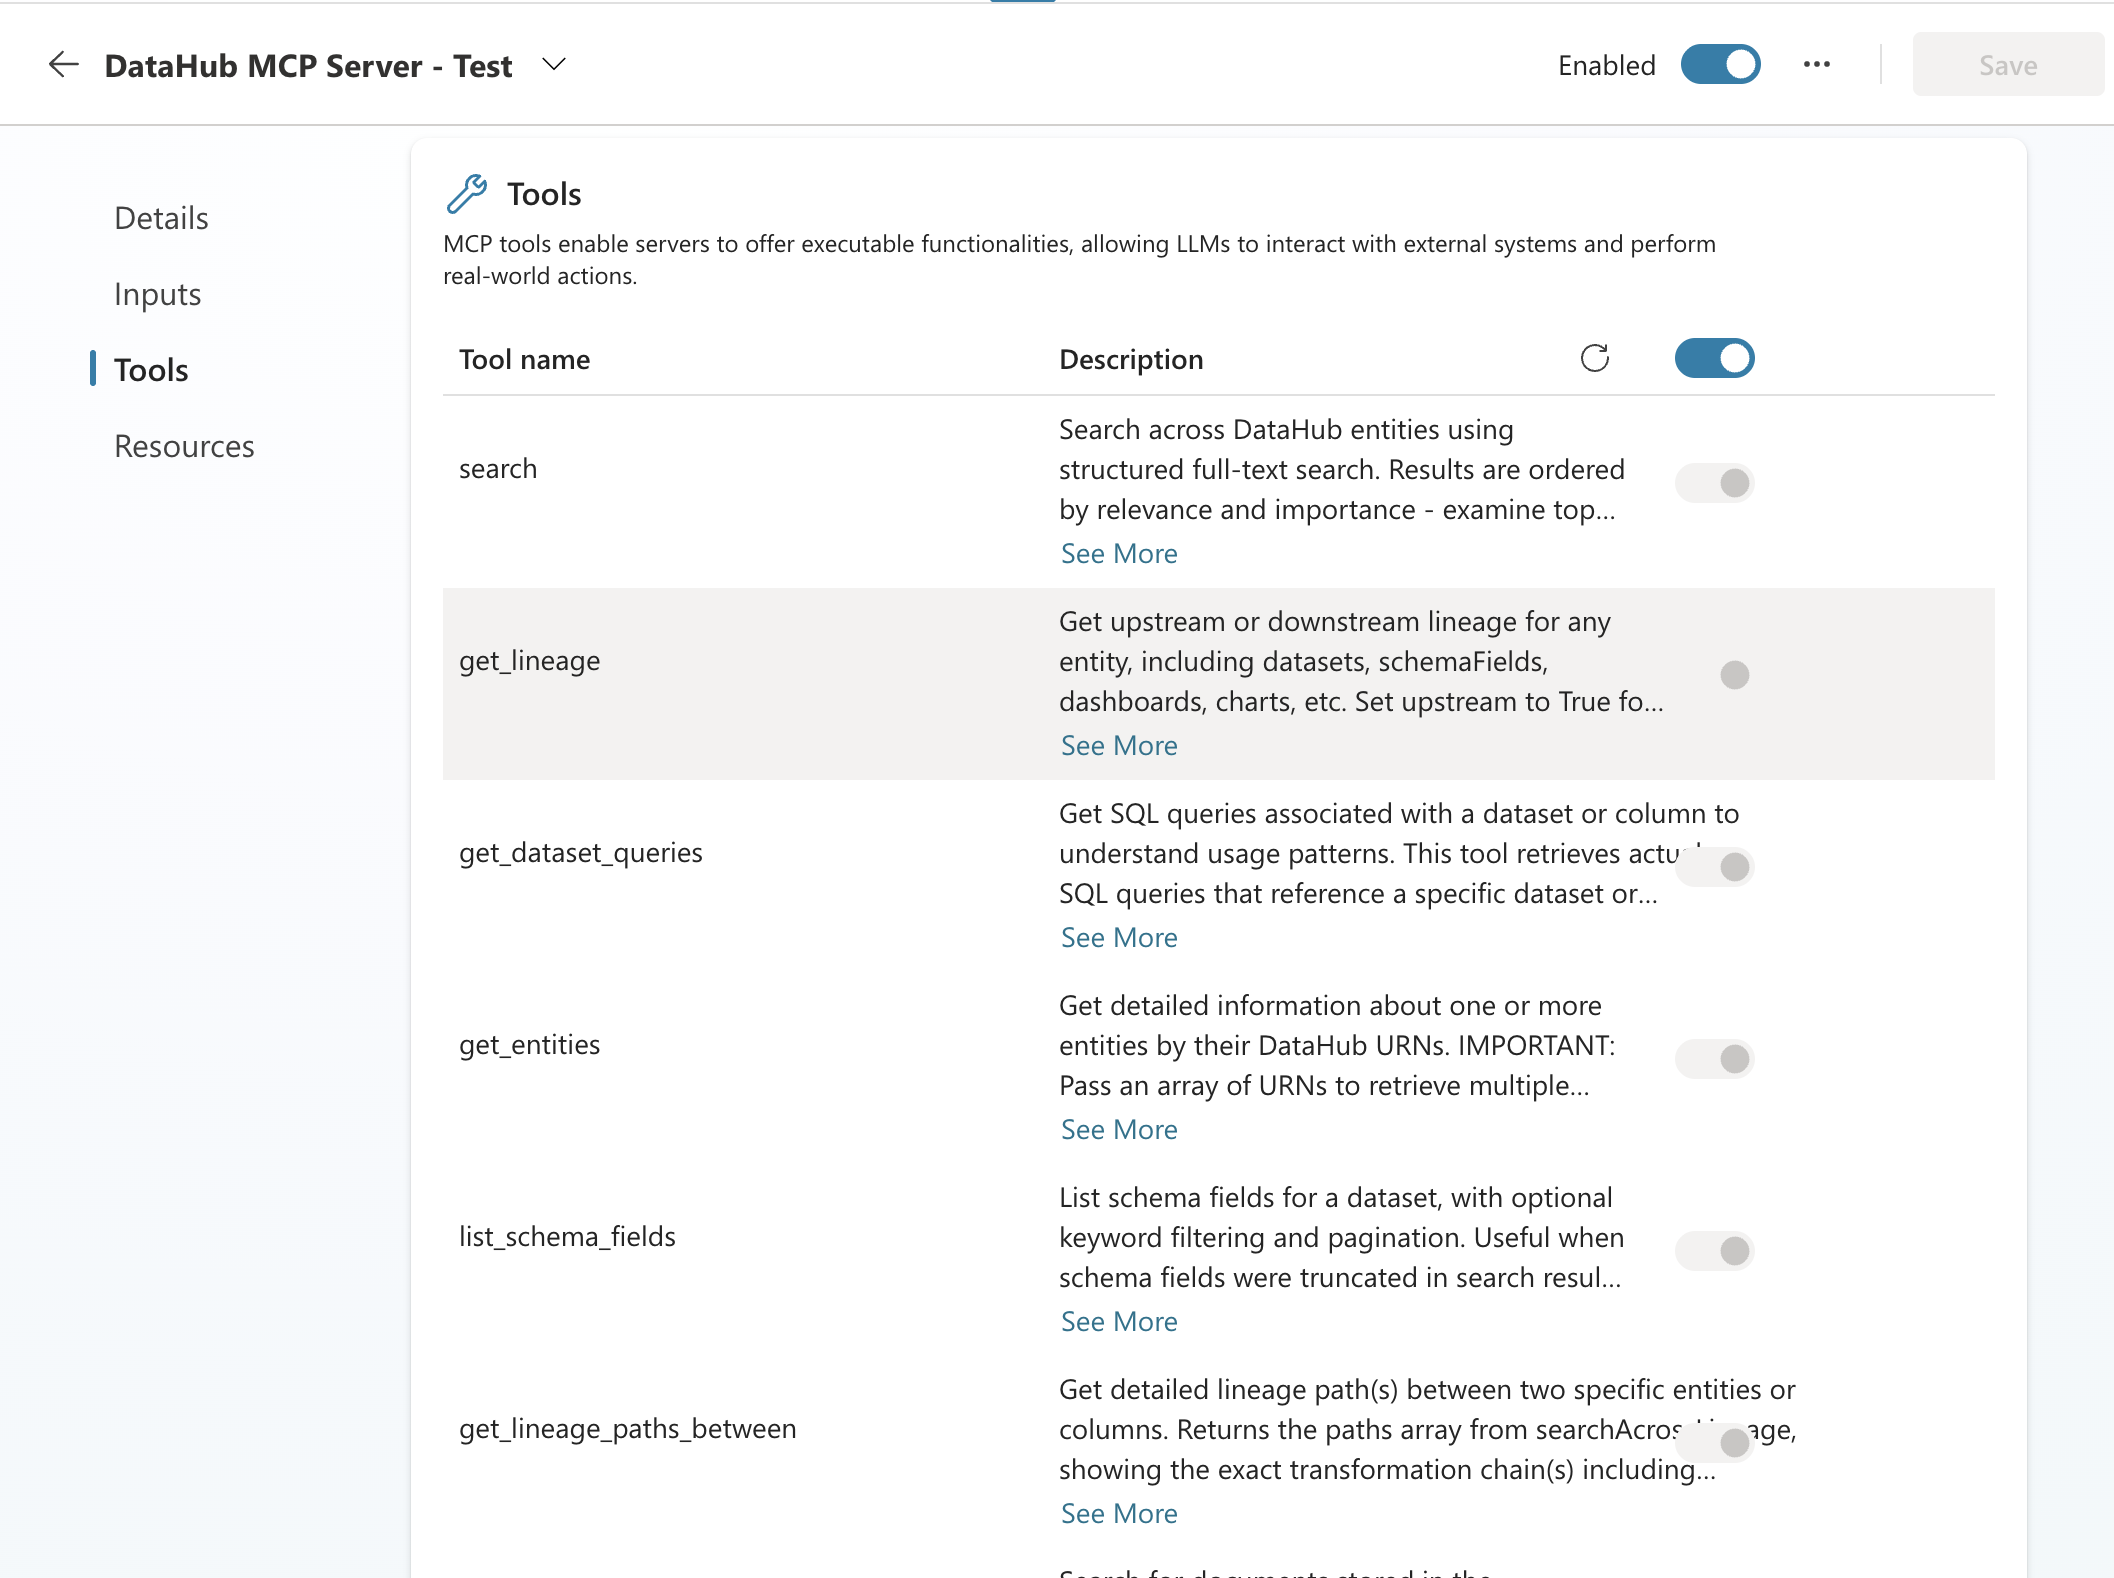
4. Enable Tools
Click Next — Copilot Studio discovers DataHub's tools automatically. Click Add and configure, then toggle on the tools you want.
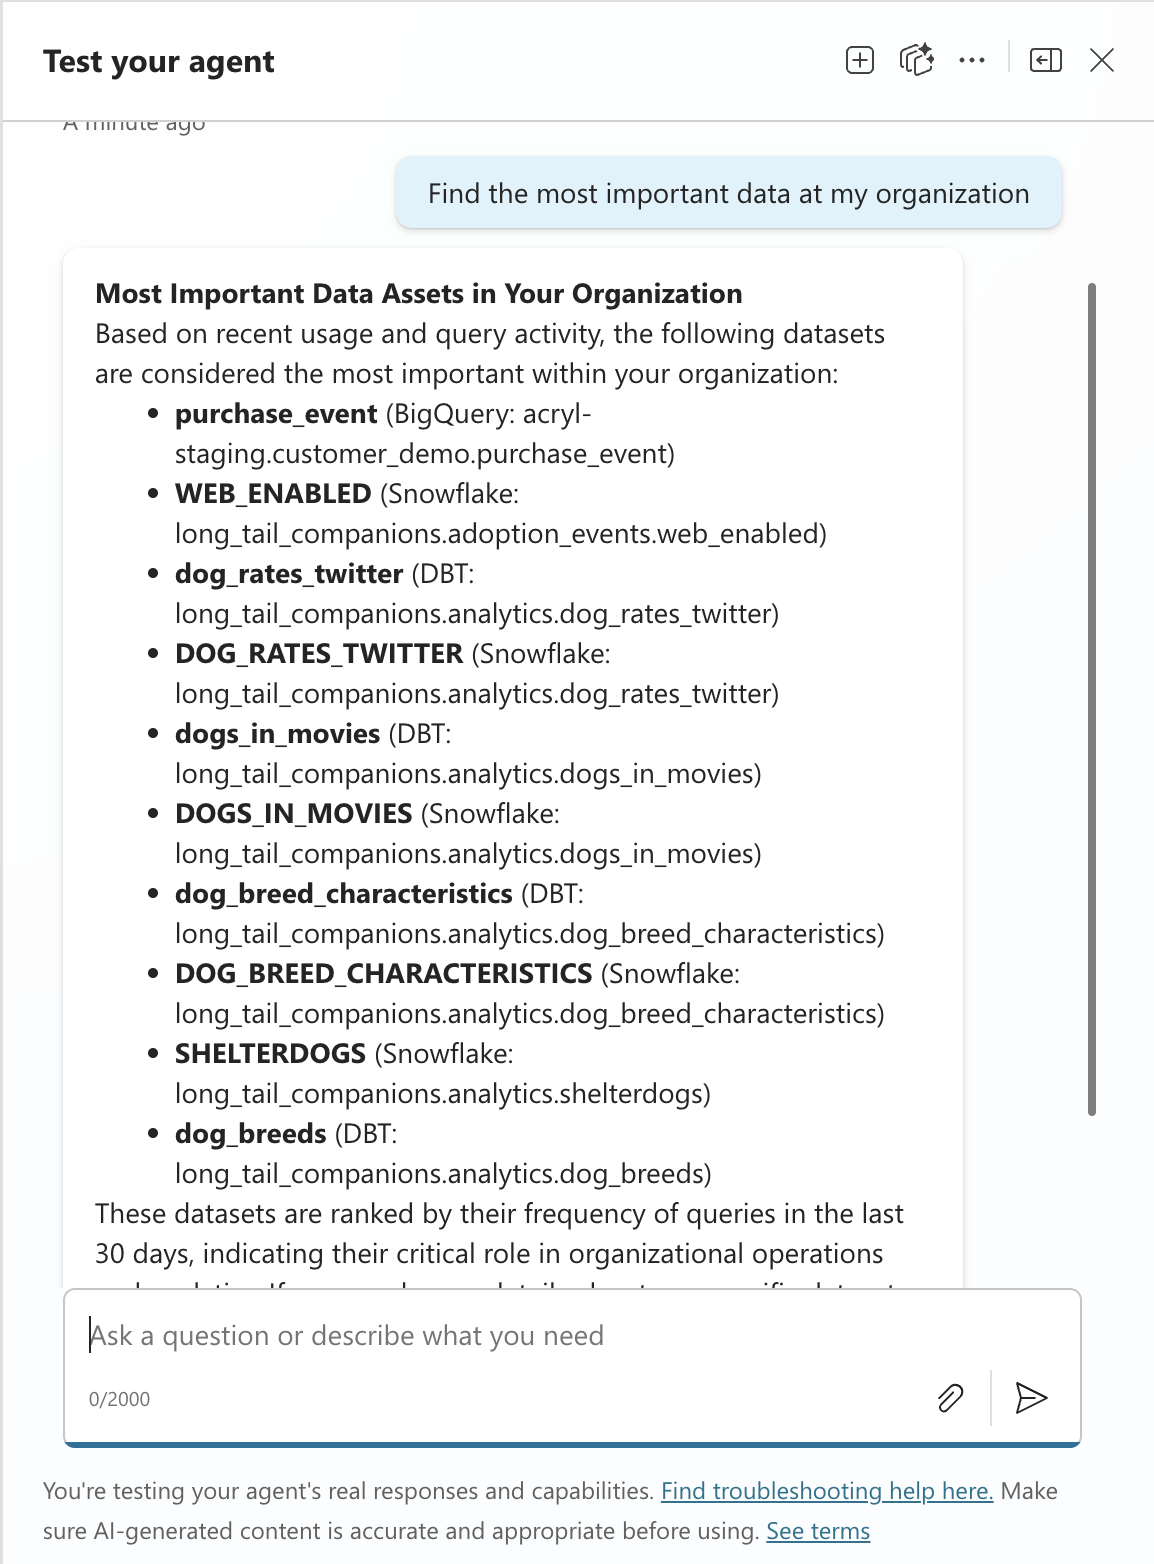
5. Test
Click Test in the top-right corner and try:
- "What datasets does the analytics team own?"
- "Show me the lineage for the revenue dashboard"
Tips
- Use the Instructions field to guide behavior — e.g., "Always search DataHub before answering data questions."
- Publish your agent to Teams, your website, or other channels when ready.
Troubleshooting
- Can't connect? Verify the DataHub URL, check the token hasn't expired, and confirm auth is set to API key (not OAuth). Include the
Bearerprefix. - Tools not appearing? Click refresh on the Tools page. Verify the MCP server is running and the token has the right permissions.
- Empty results? Check that your DataHub instance has ingested metadata. Try broader search terms.
Links: Copilot Studio Docs · Agent Context Kit · MCP Server Guide
Is this page helpful?